
There are about two different instances in life when you realize how incredibly noisy the world is.
One is when you’re creeping around the kitchen at 3 in the morning getting a snack and trying not to wake up the rest of the house.
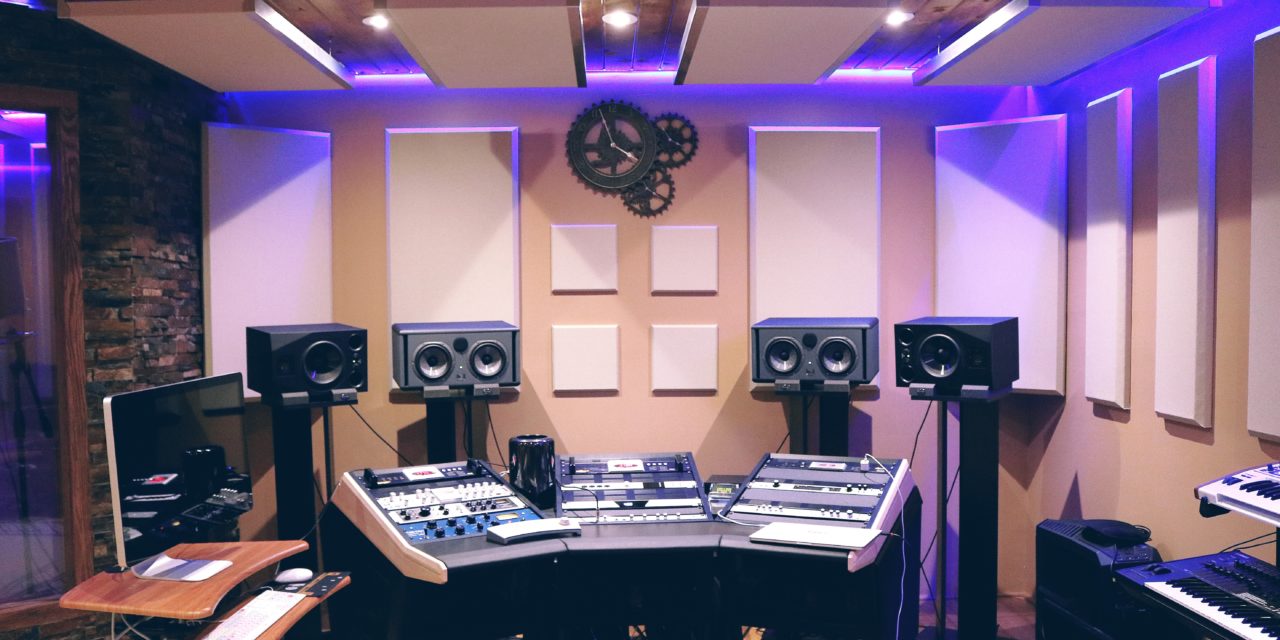
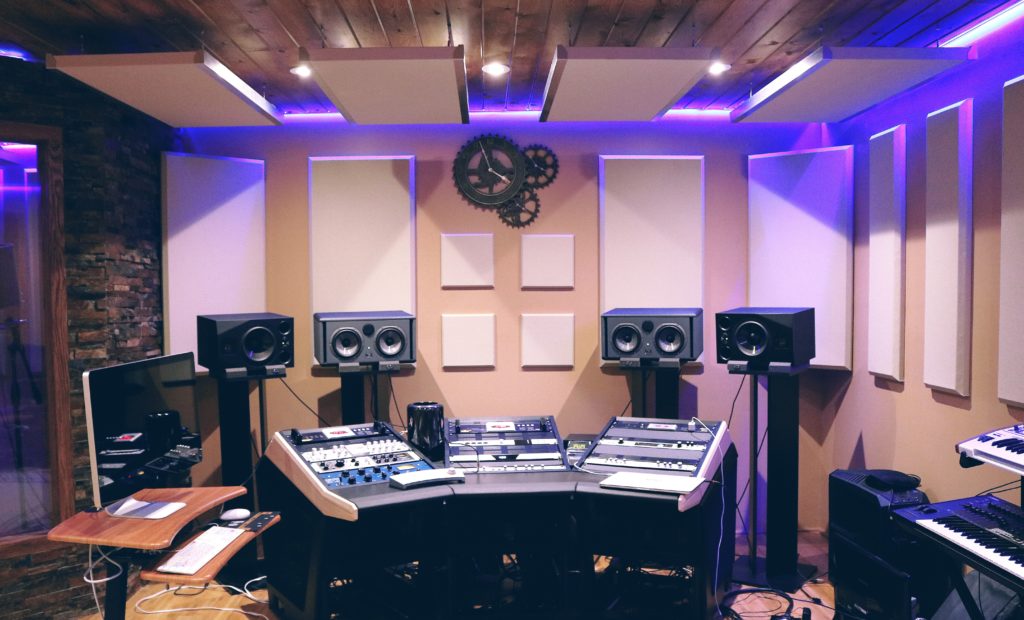
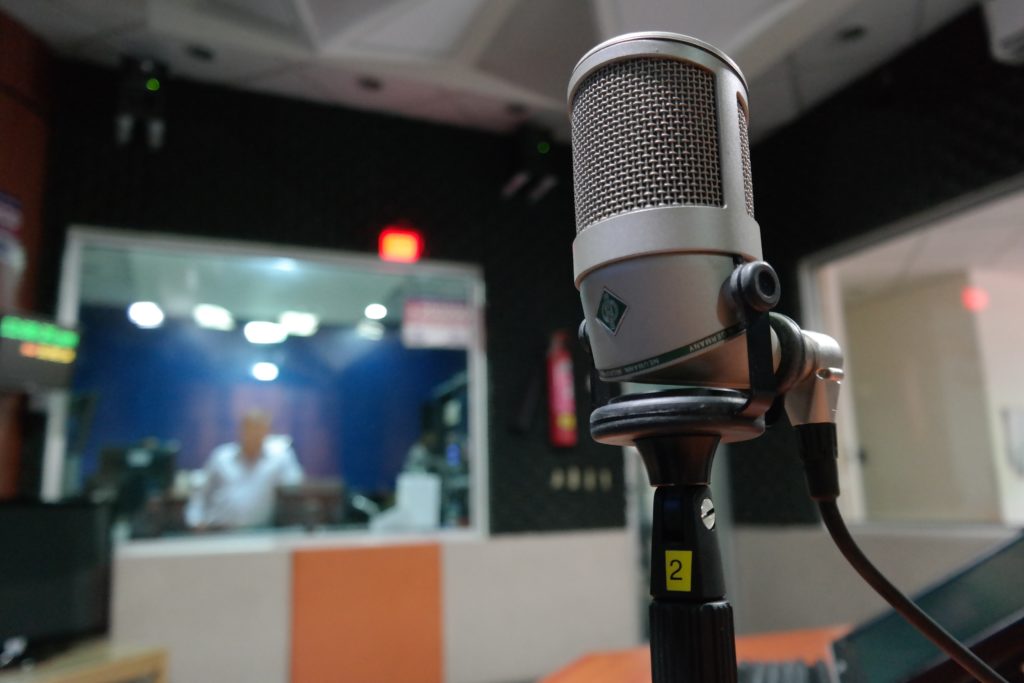
The other is when you are trying to record in your home studio.
You’ve probably set up your condenser microphone in your bedroom before, to realize that it was picking up the neighbor’s dog… two doors down. This is about the time when you ask the question,
“How in the world do I soundproof my home studio?”
When I moved to my new place in Los Angeles and set up a small home studio, it wasn’t until I started recording that I realized my house was right under the flight route of a nearby airport. I knew that I needed to soundproof my studio if I wanted to continue running my own business, and now I’m here to share my success with all of you!
My point is you’re not alone! Whether you make music, run a podcast, or record voiceover work, having a soundproof studio is immensely important, especially if you want your work to sound professional.
What You Will Need To Follow This Tutorial
- A Good Set Of Ears
- Mass Loaded Vinyl
- Green Glue
- Big Stretch Sashco Caulk
- Laptop Stand (If you are using a laptop)
- IsoBox (If you are using rack gear or a tower computer)
- Rope Caulk
A Few Alternatives
Lead Sheeting
If you can’t find mass loaded vinyl in your area, you can use lead sheeting as an alternative. Beware though, as lead has been proven to be a toxic material in home environments. It is also a bit harder to apply, both reasons why we recommend mass loaded vinyl.
QuietGlue Pro
QuietGlue is the main competitor of Green Glue, one of the most popular damping compounds. While it is much cheaper than Green Glue in terms of a per tube purchase, it has been shown to be far less effective in its damping properties.
Acoustic Caulk Alternative
If you’re looking for a cheaper alternative to Sashco Caulk, you can use Franklin International Sound Sealant. It isn’t as high quality and takes a bit longer to dry, as well as has less stretch, though does the same basic thing.
If you are nervous about applying caulk for any reason, you may want to try using some neoprene foam gaskets instead to seal up your windows and doors.
Step-By-Step InstructionsHow To Soundproof a Room Part 1
This article will be broken up into a 2-3 part series. This 1st part will address how to soundproof a room from the outside and adjacent room noises.
Step 1: Assess and Address The Source of Your Problem
Before you roll up your sleeves and get to work, you must ask yourself,
“Why am I soundproofing in the first place?”
Are you trying to get rid of outside noises such as traffic, construction, or neighbors?
Or are the inside noises the real issue, such as your air conditioner or computer fan?
These require very different types of treatment that we will discuss a bit later in the article. Speaking of treatment, you need to understand the difference between Soundproofing and Acoustic Treatment.
Soundproofing is when you limit the noise in your room by getting rid of external noise while Acoustic Treatment helps to better the sound of your room by getting rid of excessive ambient noise.
Step 2: Insulating Existing Structures
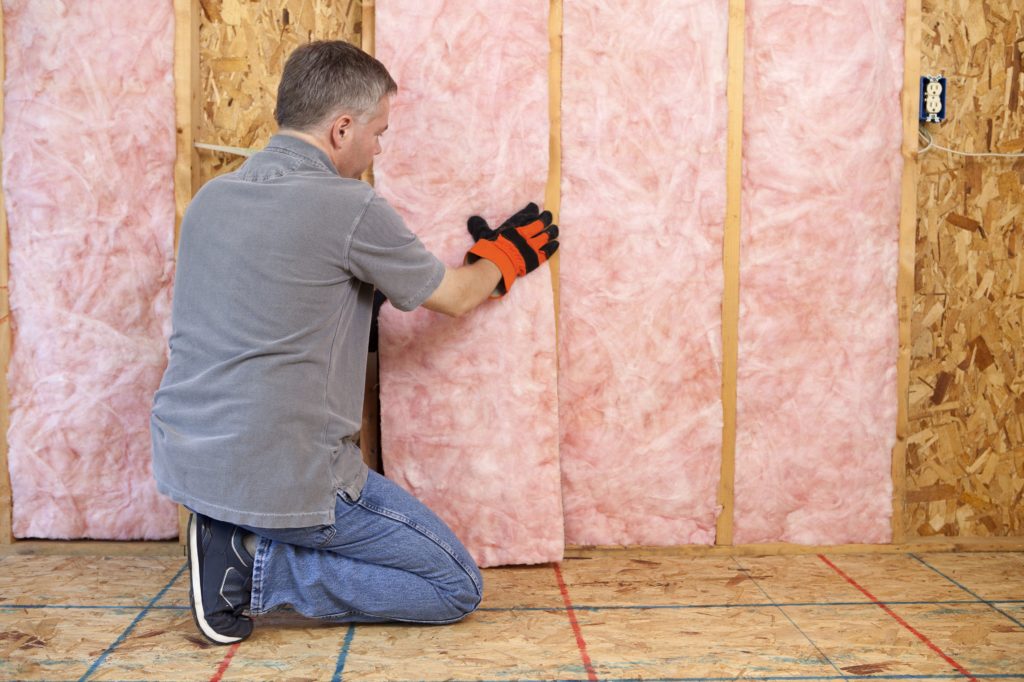
The best way to block out external noise is to add insulation to help block out the noise. Unfortunately, this process can be a bit expensive, and most home studio builders can’t afford this sort of luxury. For those that have the budget though, we’re going to discuss some options.
For Existing Structures, You Can Either Add Mass or Dampers
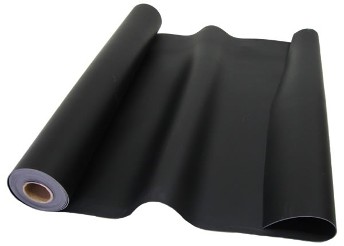
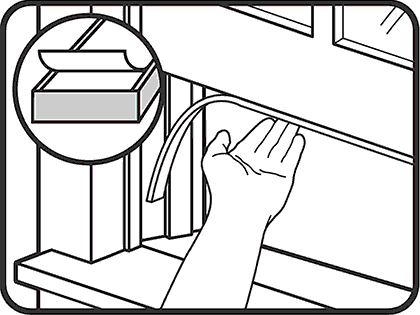
To help prevent sound from getting in or out of a room, your walls need a lot of mass. To add mass to an existing room , you can use materials such as mass loaded vinyl or sheet block. ()
 You can also try damping your studio, essentially using damping compounds like Green Glue to help control kinetic energy from different soundwaves. This compound can be used on pretty much any part of a room by applying it between the barrier and an external panel.
Decoupling
If you have two structures in a room that are in contact with each other, certain sound vibrations can transfer between them and create noise.
You can separate these points of contact by decoupling your walls using dense materials. Because this process is expensive and not really feasible for the average home studio builder, we won’t be covering it here. For those who are interested though, you can check out this “how to”.
Step 3: Addressing Air Gaps From Doors and Windows
Windows and doors are the main culprits when it comes to sound filtering into and out of a room. To have proper soundproofing, you must make sure all of the small cracks on your doors and windows are sealed off.
Here are a few different ways you can go about sealing off those cracks:
Acoustic Caulk
Acoustic Caulk is a soft, pliable, and durable material, that you can pretty much apply to any crack or gap in your home to seal it off.
Foam Gaskets:
If you don’t want to apply caulk, you can use neoprene foam gaskets to seal off the air gaps from your doors and windows.
Automatic Door Bottoms
Use automatic door bottoms to create a sealed and compressed space between the bottom of your door and the floor.
Step 4: Addressing Other Sources of Noise to Make Your Room Quieter
Now that we’ve addressed dealing with outside noises let’s talk about working with disruptive inside noises.
Minimizing Computer Noise
Have a noisy computer that is plaguing your studio sound? Try some of these options:
Separate Your Microphone and Computer
The further away your microphone is your computer, the easier it will be to clean up the ambient noise in your recordings. Here are a few ways you can try to manage this noise:
- You can start by maximizing the space between your mic and computer by putting them on separate ends of your studio.
- Try using a cardioid mic that is angled away from your computer.
- Put a noise filter between your microphone and computer
Use a Laptop Stand
If you’re using a laptop, a stand for it is an inexpensive, yet extremely worthy investment. Fans on laptops can be incredibly noisy when they heat up. By keeping your computer on a cooling stand, you can help to minimize that fan noise.
Use Multiple Rooms
The cool thing about pro studios is that they typically have their computer in one room and their microphones in the other. Now while it may not be possible to have the glamorous “studio window” between you and the person you’re recording, you can try out a few of these options to help deal with that noise:
- Try and move your computer into the closet, separate from the rest of the studio.
- Use extension cables to work from a different room.
- Drill holes in your walls to run cables between adjacent rooms.
Use an Isobox
Let’s say you are using a tower-style computer and a bunch of rack gear. The best thing you can do to minimize the noise from all of that is by using an isobox. Essentially, isoboxes are soundproof closures used by higher-end studios, that store all your computer gear and keep it cool using fans.
The main issue with isoboxes is that they can be expensive. If you can’t afford it, try and build your own:
Minimizing AC Noise
Recording in LA during the summer can be brutal if you don’t have an air conditioner. There’s nothing that can kill a vibe faster than a hot and stuffy room.
Though the issue is, you either have to choose between a hot room or a silent recording.
..or do you?
Here a few ways that you can minimize AC noise:
Turn Off Between Takes
Now, this isn’t really feasible for more extended sessions, though it is definitely the simplest and most cost-effective option.
If this is your choice, we recommend installing a thermostat like Nest. The cool thing about Nest is, you can control it from your mobile device or computer so that you don’t have to get up every time you start a new take constantly.
Seal It Up
If you’re using a window AC unit, the one big thing that you need to worry about is that cracks that it leaves between the windows. If you don’t have the budget to get it sealed professionally, here are a few ways that you can go about sealing it yourself.
Caulk Around the Outside
You can use rope caulk around the outside of your AC unit to helps seal any open spaces.
Spray Foam
If you plan on having your AC unit up all year, we recommend using spray foam. While it is probably one of the best forms of sealant for AC units, it is also the most difficult to remove.
Remove Rattling Vents
If you have central air, the sound issues can come from the vents.
Your vents might be rattling from the air flowing through or resonating when certain frequencies are played. Your best bet is to get rid of these all together if you realize that they are making noise.
Conclusion
For many people, noise seems like such a significant and complex problem that they decide it isn’t worth the time and energy to try and attack it. We hope that this article has simplified the problem for you!
Though there are ways to get rid of noise in post a la plugins and such, these methods aren’t always effective. This is why it is essential that you get rid of any noise before you start recording. It will make your recordings sound better, your mixing much easier, and will put your studio on a professional level.
Was our soundproofing guide helpful? Let us know what you think in the comments!


