Let’s face it, when it comes to music production and performance, things can become a bit confusing. Some things aren’t even necessary to know. If you produce acoustic music, why would you ever need to learn how to make a growling, dubstep sub-bass?
Well, you probably wouldn’t. However, if you produce music of ANY kind, one thing you should know about is MIDI.
MIDI is one of the most versatile tools available. It allows you to utilize VST instruments, edit with finesse, and sync up all of the devices in your session. Today we’re going to dive into the nitty-gritty of MIDI so that you can get to know all of the benefits it possesses.
What Is MIDI
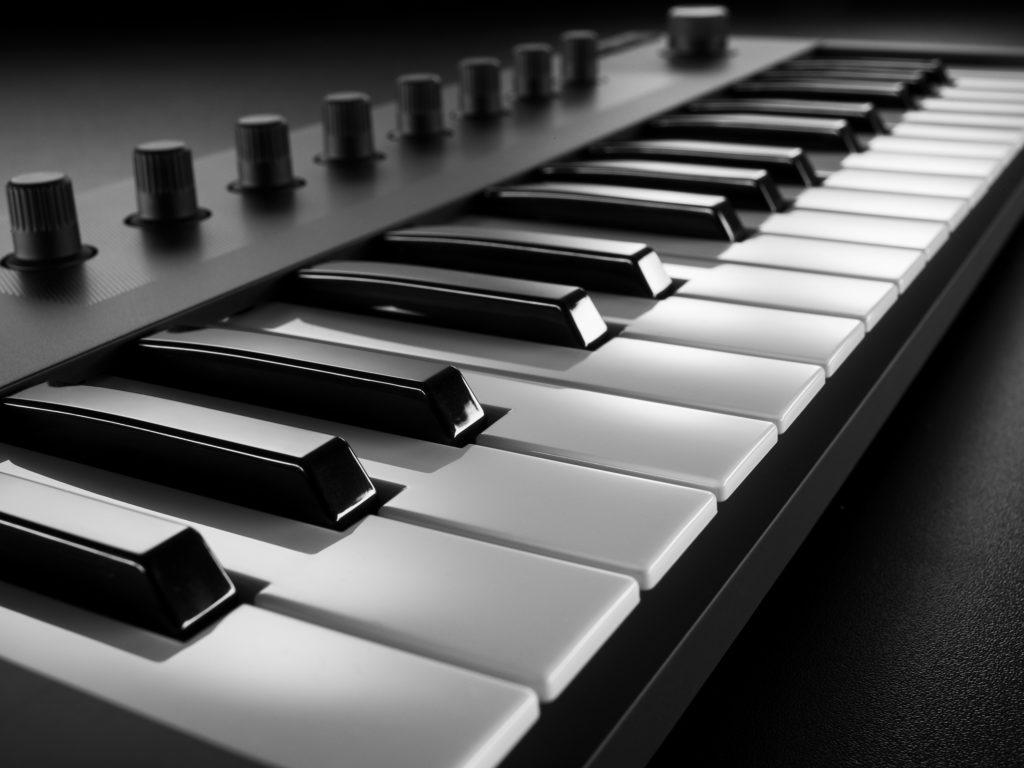
MIDI stands for Musical Instrument Digital Interface. You can think of it as a technical language, as it provides a way for certain instruments to communicate with other instruments, controllers, and computers. This works by creating a physical connection between your MIDI controller/instrument and other hardware. MIDI is eventually transferred in data form.
A Brief History
MIDI was created in the 1980s and was meant to standardize the way that music hardware could communicate. This would allow musicians and producers everywhere to use a specific system without having to worry about compatibility.
We can thank Ikutaro Kakehashi, the founder of Roland, for introducing the idea of the MIDI instrument. He brought the idea to Dave Smith, the famous man behind Sequential Circuits, as well as the heads of a few other major manufacturers such as Moog and Oberheim. It was then that all of these manufacturers began working together to develop the perfect way to transfer this sort of data.
In 1983, MIDI was introduced to the public at the NAMM show in Los Angeles when they showed a Sequential Circuits Prophet-600 talk to a Roland Keyboard with a small, 5-pin cable. While it may not seem like anything crazy today, MIDI was something that changed the way we made music forever.
How Does It Work?
When you press a key on a MIDI instrument, a MIDI note is created. MIDI notes carry tons of different data with them that tells the instrument many things:
- On/Off: This is how your instrument will play a note, whether it be a synth or violin sound.
- The Pitch for That Specific Note
- The Velocity (How Hard the Key Is Pressed)
- Tempo (BPM)
- Panning
- Aftertouch (How the Key Is Held Down)
- Volume
MIDI can also utilize something called MIDI clock that allows two instruments or pieces of hardware to sync up to your entire setup. Your main piece of equipment is what is going to decide the tempo. Typically, this piece of hardware is your sequencer. This is so special, as it allows your MIDI notes to change tempo and length based on how you change your main tempo. It’s pretty magical.
If you use MIDI with software, it will save the data and all of the instructions sent as a MIDI file. This MIDI file can be used to playback sounds with the stored velocity, pitch, and tempo information it was given.
Sequencers
Most people will use sequencers as their main pieces of MIDI gear. Sequencers can be used for a lot of things, including recording, editing, playback, etc. This sequencer can be anything from an old AKAI MPC-style keyboard to the actual sequencer that you use in your DAW such as Pro Tools or Ableton. It honestly depends on how you choose to use it.
The sequencer is the king of your session, the leader of your band, and the head chef in your musical kitchen. It is what sends out information to other pieces of your MIDI setup and keeps your session running as you want it to. Essentially, it mitigates the otherwise daunting task of retiming and rearranging things manually.
In Use
The reason MIDI is so remarkable is that it is easy to edit and move around to change your music in seconds. MIDI notes will tell your synthesizer, drum machine, or VST, what sound that you would like it to trigger, for how long, how hard, etc.
It allows you to go through multiple sounds with your data, auditioning new sounds without having to play the same thing over and over again. It’s incredible because you don’t have to ever re-record anything to find a new sound. Just lay your MIDI down and change the instrument that it’s being sent to.
Think of it as one of the old-school player pianos that you probably have seen in old honky tonk bars. They’re the digital version of the sheets that you would place inside those pianos to get them moving. No one ever has to sit down and record anything on the piano, they just put the data in and let it work itself out.
Popular MIDI Applications
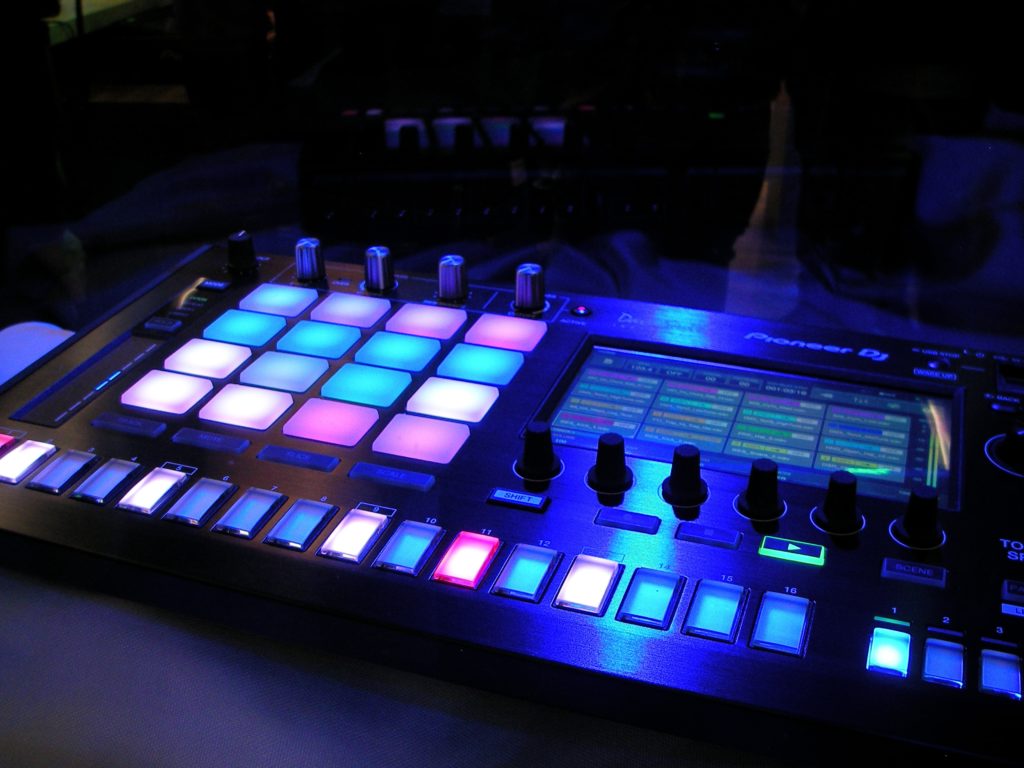
MIDI Keyboard/Controller to DAW
Go into any modern home studio, and you will most likely see this type of connection. This is because it is simple to set up, can be used on the go, and is incredibly inexpensive. Even with its simplicity and ease, it is still one of the most powerful ways to create music.
The type of DAW or MIDI keyboard/controller that you choose is entirely up to you and your needs. The beauty is, any MIDI keyboard will give you the ability to play with, manipulate, and utilize, just about any piece of music software out there. Thanks to the plethora of available VST instruments out on the market, your MIDI keyboard/controller can turn into anything from an 808 drum kit to a full on 100-piece orchestra.
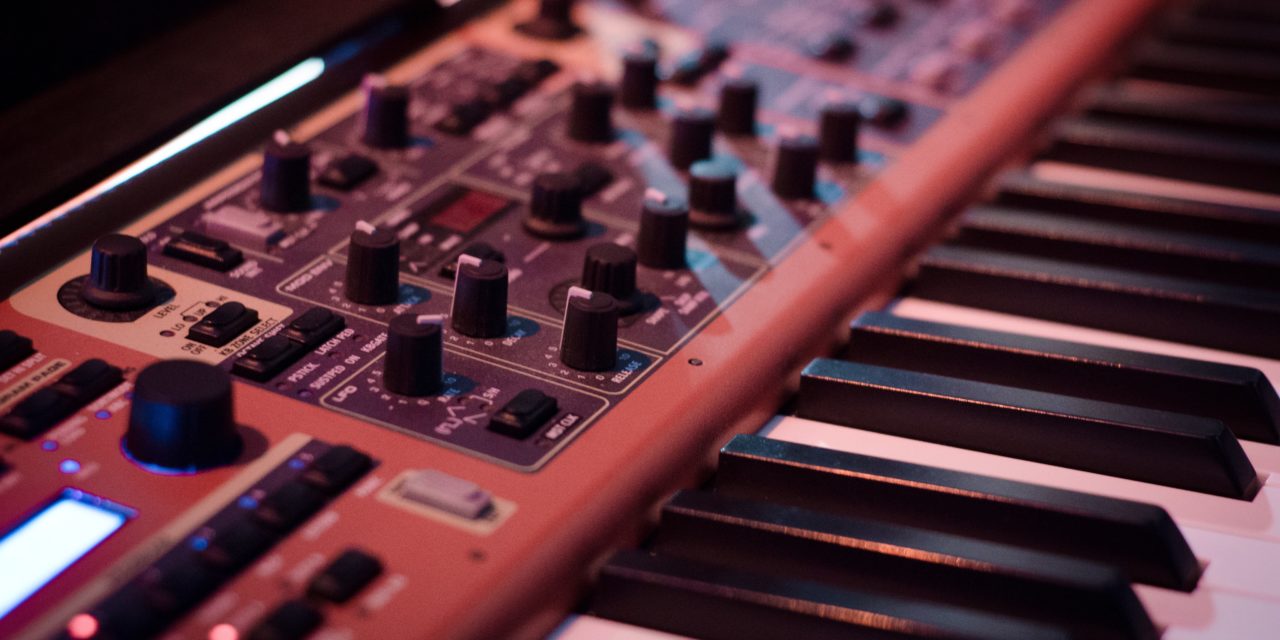
Pretty much every DAW enables you to assign the buttons, knobs, keys, and faders, on your MIDI controller, to the parameters in your DAW. This means that you can adjust things like filters, LFOs, volume, reverb, or anything else that you could possibly dream up, all with the physical touch that digital systems sadly lack. Essentially, you can create sequences, arpeggiate instruments, and manipulate sounds, all with your controller.
MIDI Interface to DAW to Synthesizers
For those who want to utilize their real synthesizers, MIDI allows you to create a more complex setup to do so.
Creating this connection allows you to get the deep, rich sound of analog, all while still being able to edit, sequence, and arrange, on a piano roll within your DAW. If you have synthesizers at home that you love, or just can’t seem to get the beautiful analog sound with your VSTs, this an excellent way to get a mix of realism and programming in your music.
This type of application uses the DAW that is being recorded into as the sequencer or “hub” for sending out MIDI information. Based on the information you give your DAW, it can send MIDI information to your synth to play before that arrangement is transmitted back into the computer via stereo/mono cables.
The way you connect will vary from hardware synth to hardware synth, and while it would take an entire article to get into each and every one of them, we will just leave you with saying that it’s a possibility you should take advantage of. Just make sure to check out the manual on your specific synthesizer to see how to get it done.
Sequencer, Synth, or Drum Machine, Sans Computer
While a DAW can be one of the most powerful things in your home recording setup, sometimes it is best to get outside of them for a little bit and explore other possibilities. One of the best ways to do that is to make your setup one that is wholly based on hardware. Luckily, MIDI is the tool that allows us to do just that.
Check out this video from Novation where Chris Calcutt utilizes the Launch Control XL to help control an all-hardware setup.
He is able to generate all of the sounds from his Bass Station, Octratrack, and UltraNova, all without ever touching a computer. Essentially, this is like going back to basics and playing in an “acoustic” manner. It is quite a liberating feeling.
MIDI and Live Shows
So you pretty much understand by now that MIDI can be used to trigger sounds and samples in your DAW or with your synthesizers/drum machines, though what you might not have known is that MIDI can control live lighting as well!
A great example of this is the band Yeasayer, who used a Lightjams MIDI rig back in 2016 on their tour. All of the lighting for their show was triggered utilizing MIDI. The group was given a controller that was rigged to trigger different lighting scenes using their DAW. Because everything was timed to the MIDI hub, the lights were also able to sync up to the music.
Basically, MIDI has the capabilities to go far beyond music, especially when you get into the realm of live performance.
Common Misconceptions About MIDI
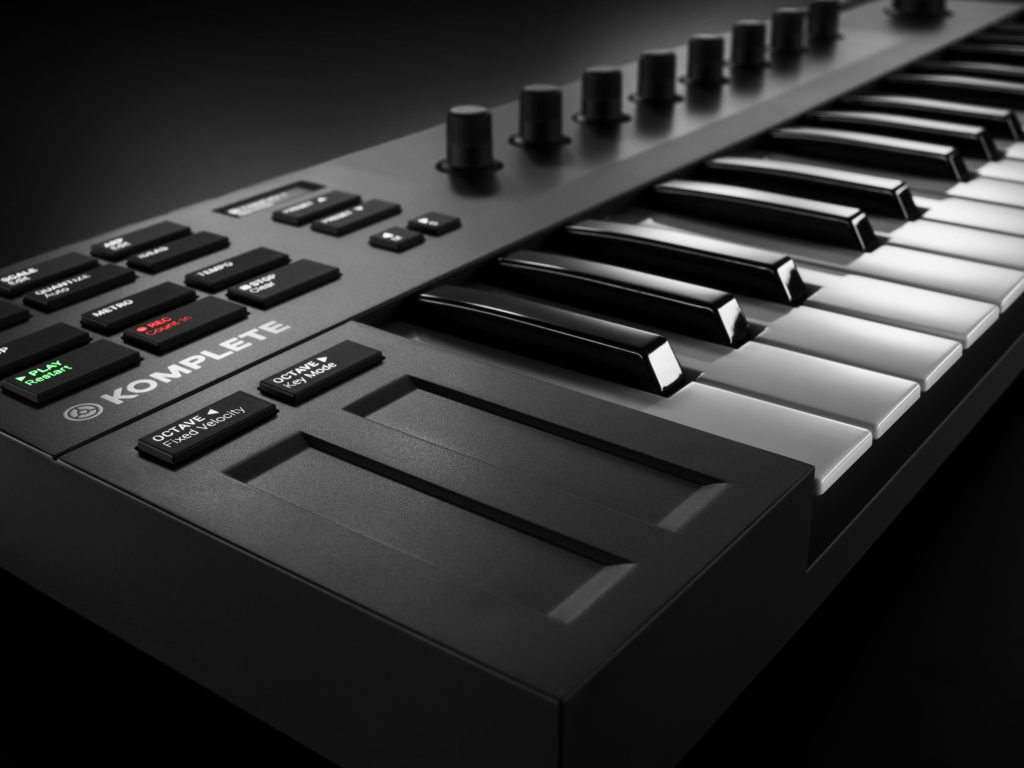
Before we go any further, it’s necessary that we clear the air on one of the biggest misconceptions about MIDI. MIDI is NOT audio. It doesn’t actually transmit sound or signal of any kind on its own.
It is simply data. This data is used for instruction to help use machines that do emit a signal, speak. If you look at MIDI data in your DAW, you’ll notice that it comes out as small rectangles. These are similar to what you would see on an old piano roll. What you won’t see when you look at your MIDI data are waveforms. This is because there is no actual audio there.
In Vs. Out
If you’ve ever looked at the dark side of a MID controller and have been confused about the IN and OUT jacks, you’re not alone.
A common question is, “should you connect your OUT jack to the next OUT jack since they’re both OUTS?” While it may seem like the most logical way to go about things, it’s unfortunately very wrong.
The INs and OUTs on MIDI devices are representative of the pathways that MIDI information takes. The IN is what tells the MIDI signal where to go while the OUT tells you where the signal will be coming from.
Basically, you want to think of your MIDI-like a train. The OUT is where the train will be coming from, and the IN is where that train will end up. Any cable that leaves through the OUT of a MIDI device should go to the IN of the next one.
The Mystical “THRU” Channel
Most people seem to disregard the THRU channel altogether, as it looks confusing. The thing is, it’s actually relatively simple. A THRU port is what you’re going to use to send a copy of the signal out of to another device. This can be extremely useful if you want to send the same data from one device to another, to another, to another. You can genuinely keep going THRU forever if you want to combine many of the corresponding signals.
Tips and Tricks to Get The Most Out of Your MIDI Setup
Connections
If you want to get the most out of your MIDI setup, the first thing that you must know is how to connect your gear. When we look back to old-school MIDI configurations, we see that they use the famous 5-pin cable. Some people will refer to these 5-pin cables as simply: MIDI cables. They look a little something like this:
MIDI cables can be a bit difficult to deal with in modern setups, as many things work through computers that utilize USB connections. Thankfully, many new pieces of MIDI gear use USB alongside 5-pin cables, or USB exclusively. These USB cables will look a little something like this:
To actually make use of MIDI, you’ll need some sort of interface or controller that is able to send and receive MIDI data to and from the DAW that you use to record.
Layer Your MIDI
After hours of work, you have finally finished mastering your MIDI arrangement, and now you want to layer it. The great thing about MIDI is you can just take it, duplicate it, and give it a new sound for layering!
Now your arrangement sounds fatter and thicker, yet all you had to do was make a duplicate and load up a new instrument. We do recommend editing velocity or duration to help add some realism to your mix as well.
Go Off The Grid
Over-quantization is something that can absolutely kill a performance. The best way to make sure that your MIDI arrangement feels natural is to give them a little bit of swing. Thanks to the way piano rolls work, it’s pretty easy to take notes in your sequencer and move them over slightly so that they are a bit off the grid. This leads us to our next point:
Play Those Drums!
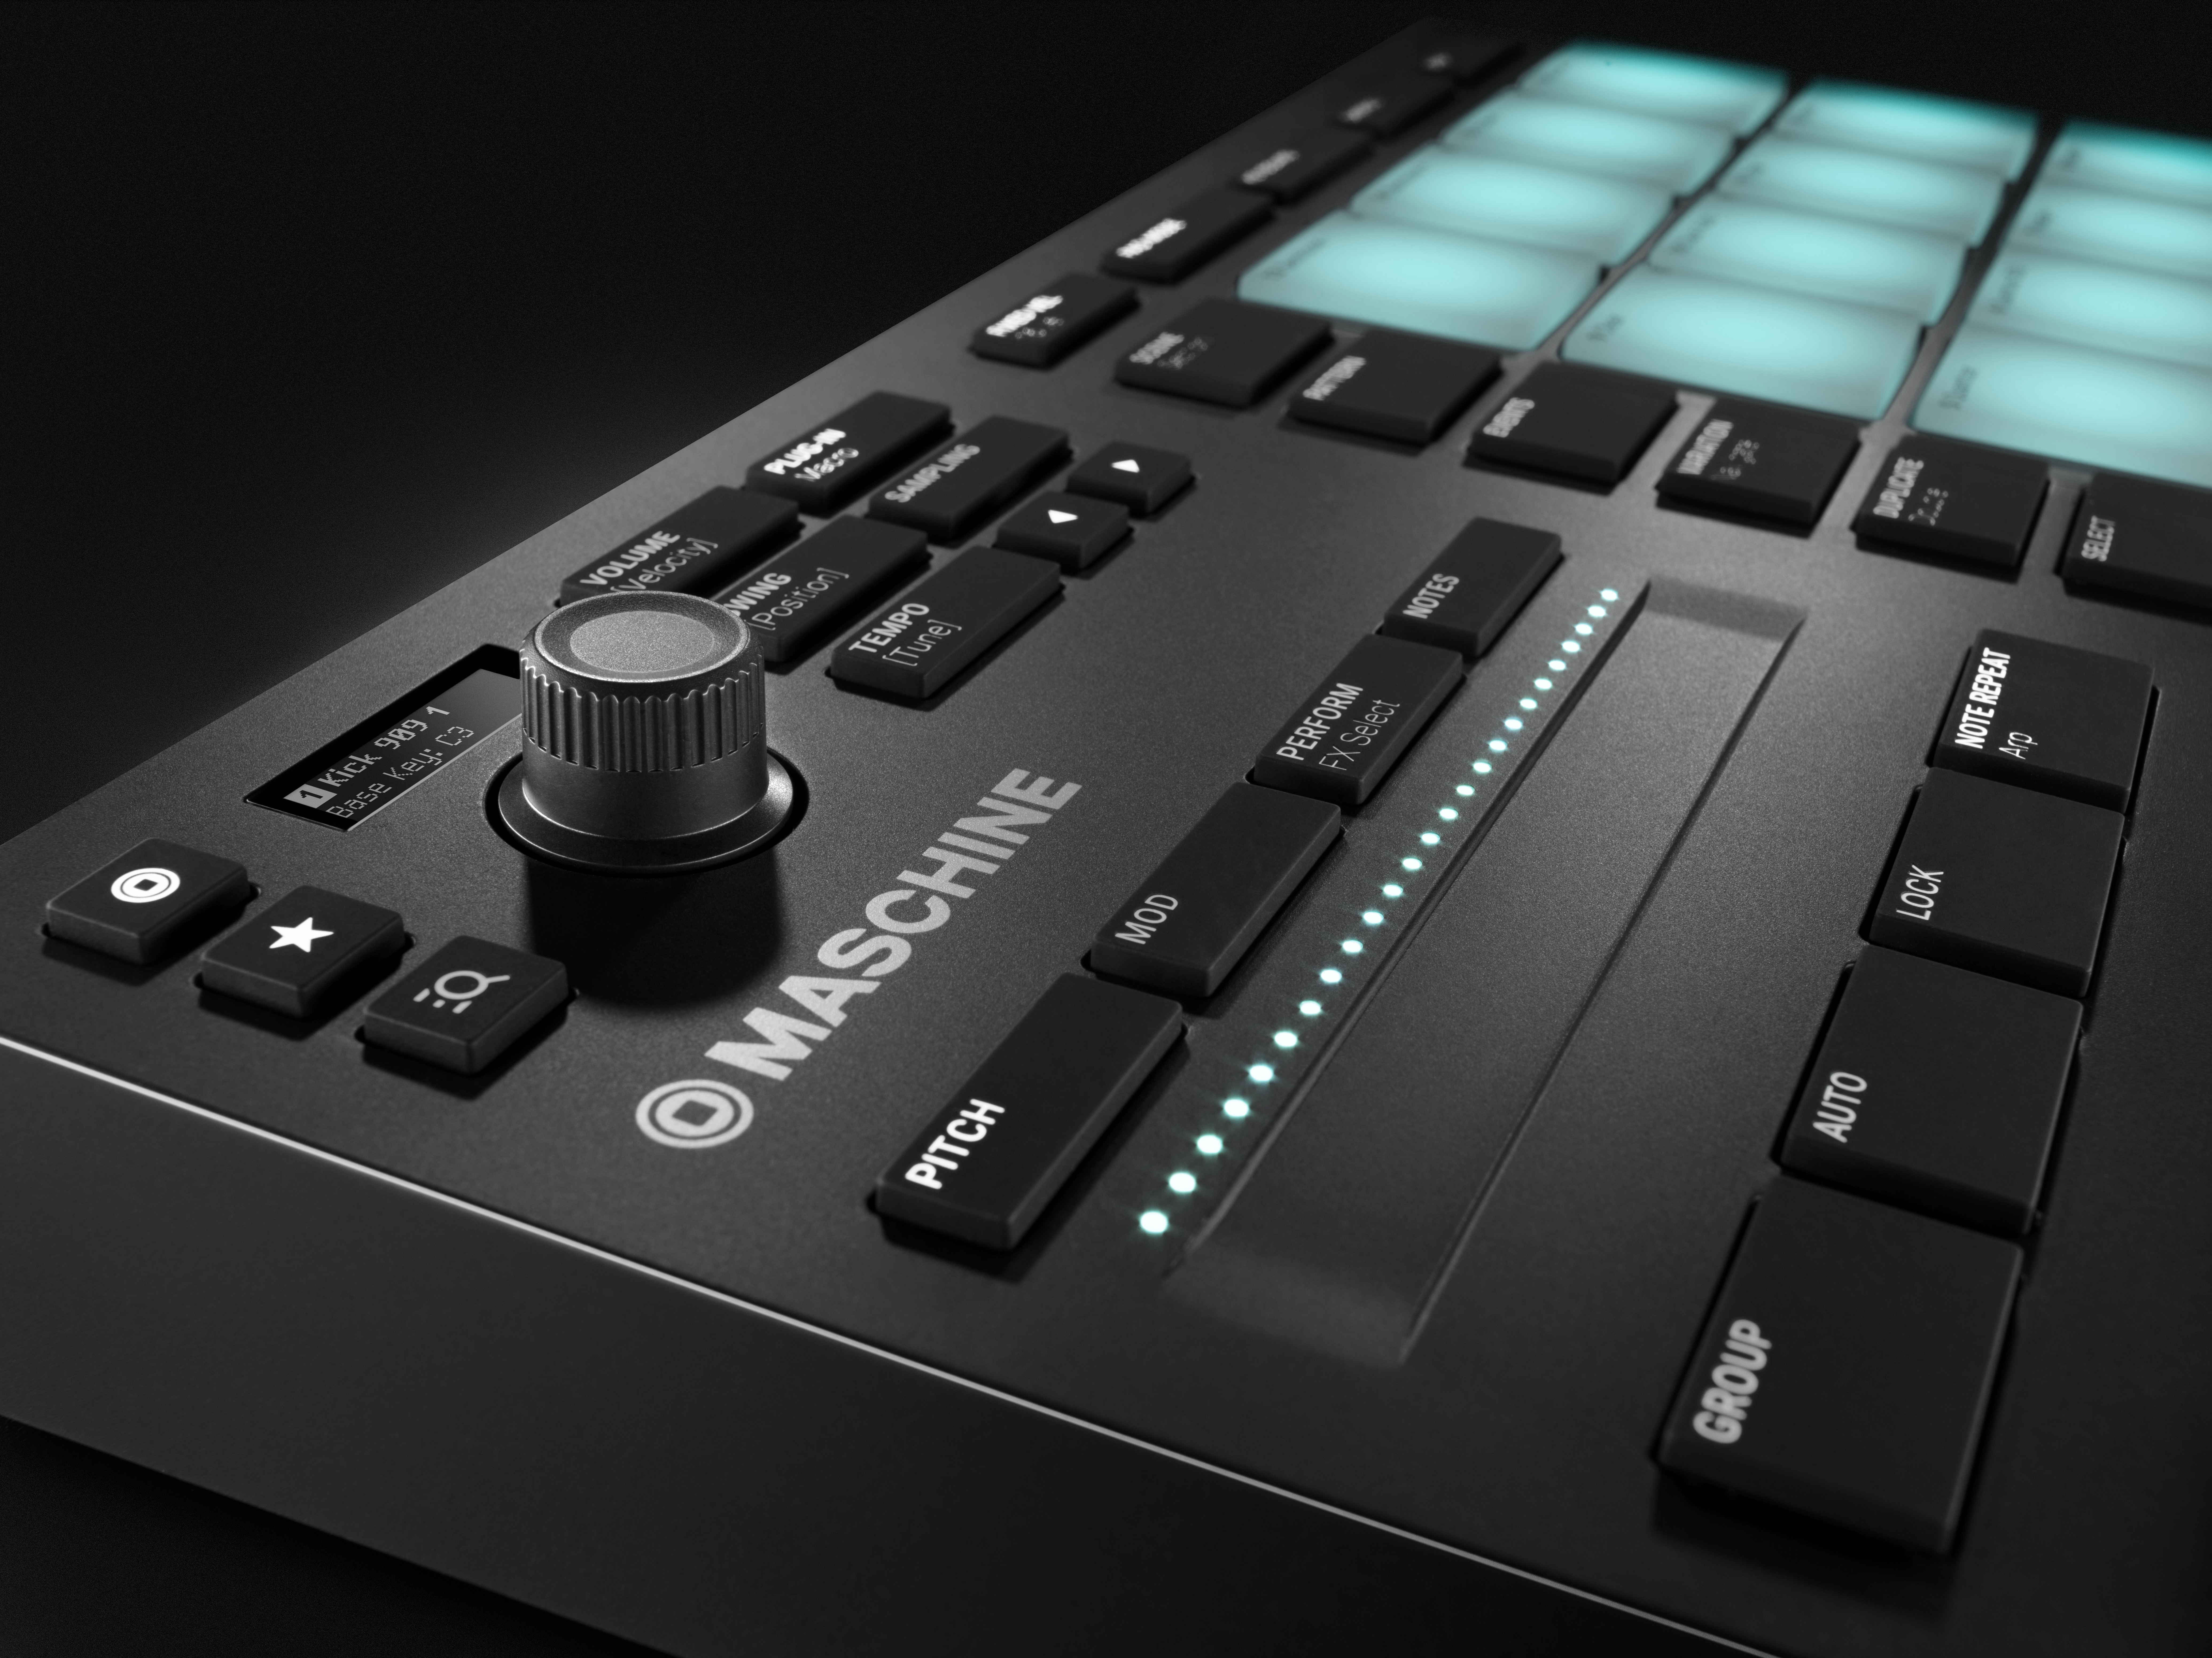
Arranging drums on a piano roll is really easy, though clicking and drawing all of your drums on the grid can make performances really boring. This is why we always recommend banging out your drums with some type of MIDI controller. Whether it is one with pads on it or keys is entirely up to you! You could even do it with your computer keyboard if your DAW allows it.
Actually tapping out your drums with help to make your performance a bit more organic. The cool thing is you can go back into your DAW’s piano roll and edit any notes that you feel sound off.
Watch as Jon Phonics builds a track using his old-school MPC-style controller:
https://www.youtube.com/watch?v=Hkv0l-ewKxo
Use Pattern Sequencers
Depending on the type of music you make, sometimes it can be interesting to lay out the bones of your song using patterns. Most DAWs have plugins that can do this, essentially creating multitrack looping options.
These can be looped in 2-bar, 4-bar, 8-bar, or more, patterns. The great thing about sequencing is that it is quick and easy to edit and move notes around, and also keeps things moving so that you can stay creative and in the groove.
You can just copy and paste this groove along with your entire arrangement and edit each copy slightly so that your groove stays fresh throughout. This works for chords, drum grooves, or whatever else you can think of!
Conclusion
We hope that you now have a better understanding of MIDI and how it can greatly enhance your music making process.
MIDI provides you with access to almost any sound imaginable and gives you everything you need to edit and share performances in different situations. There are also tons of different ways to set it up, meaning you’ll never run out of creative ways to utilize it.
Any MIDI tips or tricks that you use in your productions? Let us know in the comments!

